
At one time, I found the bright sunny yellow color of my KitchenAid standing mixer cute. I thought it was quirky, spunky, wacky, whimsical. Perhaps that was just a rationalization I told myself so I could get the 30% off that goes along with a discontinued color. I manufactured love for this color for quite a few years. But in my newfound DIY spirit, I took on the KitchenAid Makeover Project.
Cute isn’t exactly what I’m going for in the new house. Which is going to be done in TWO WEEKS! Classic, sophisticated, clean. Those are the words to describe the new kitchen. So the KitchenAid needed a makeover. I roughly followed the directions from Dwell Beautiful. And here follows my interpretation with the quite remarkable result!

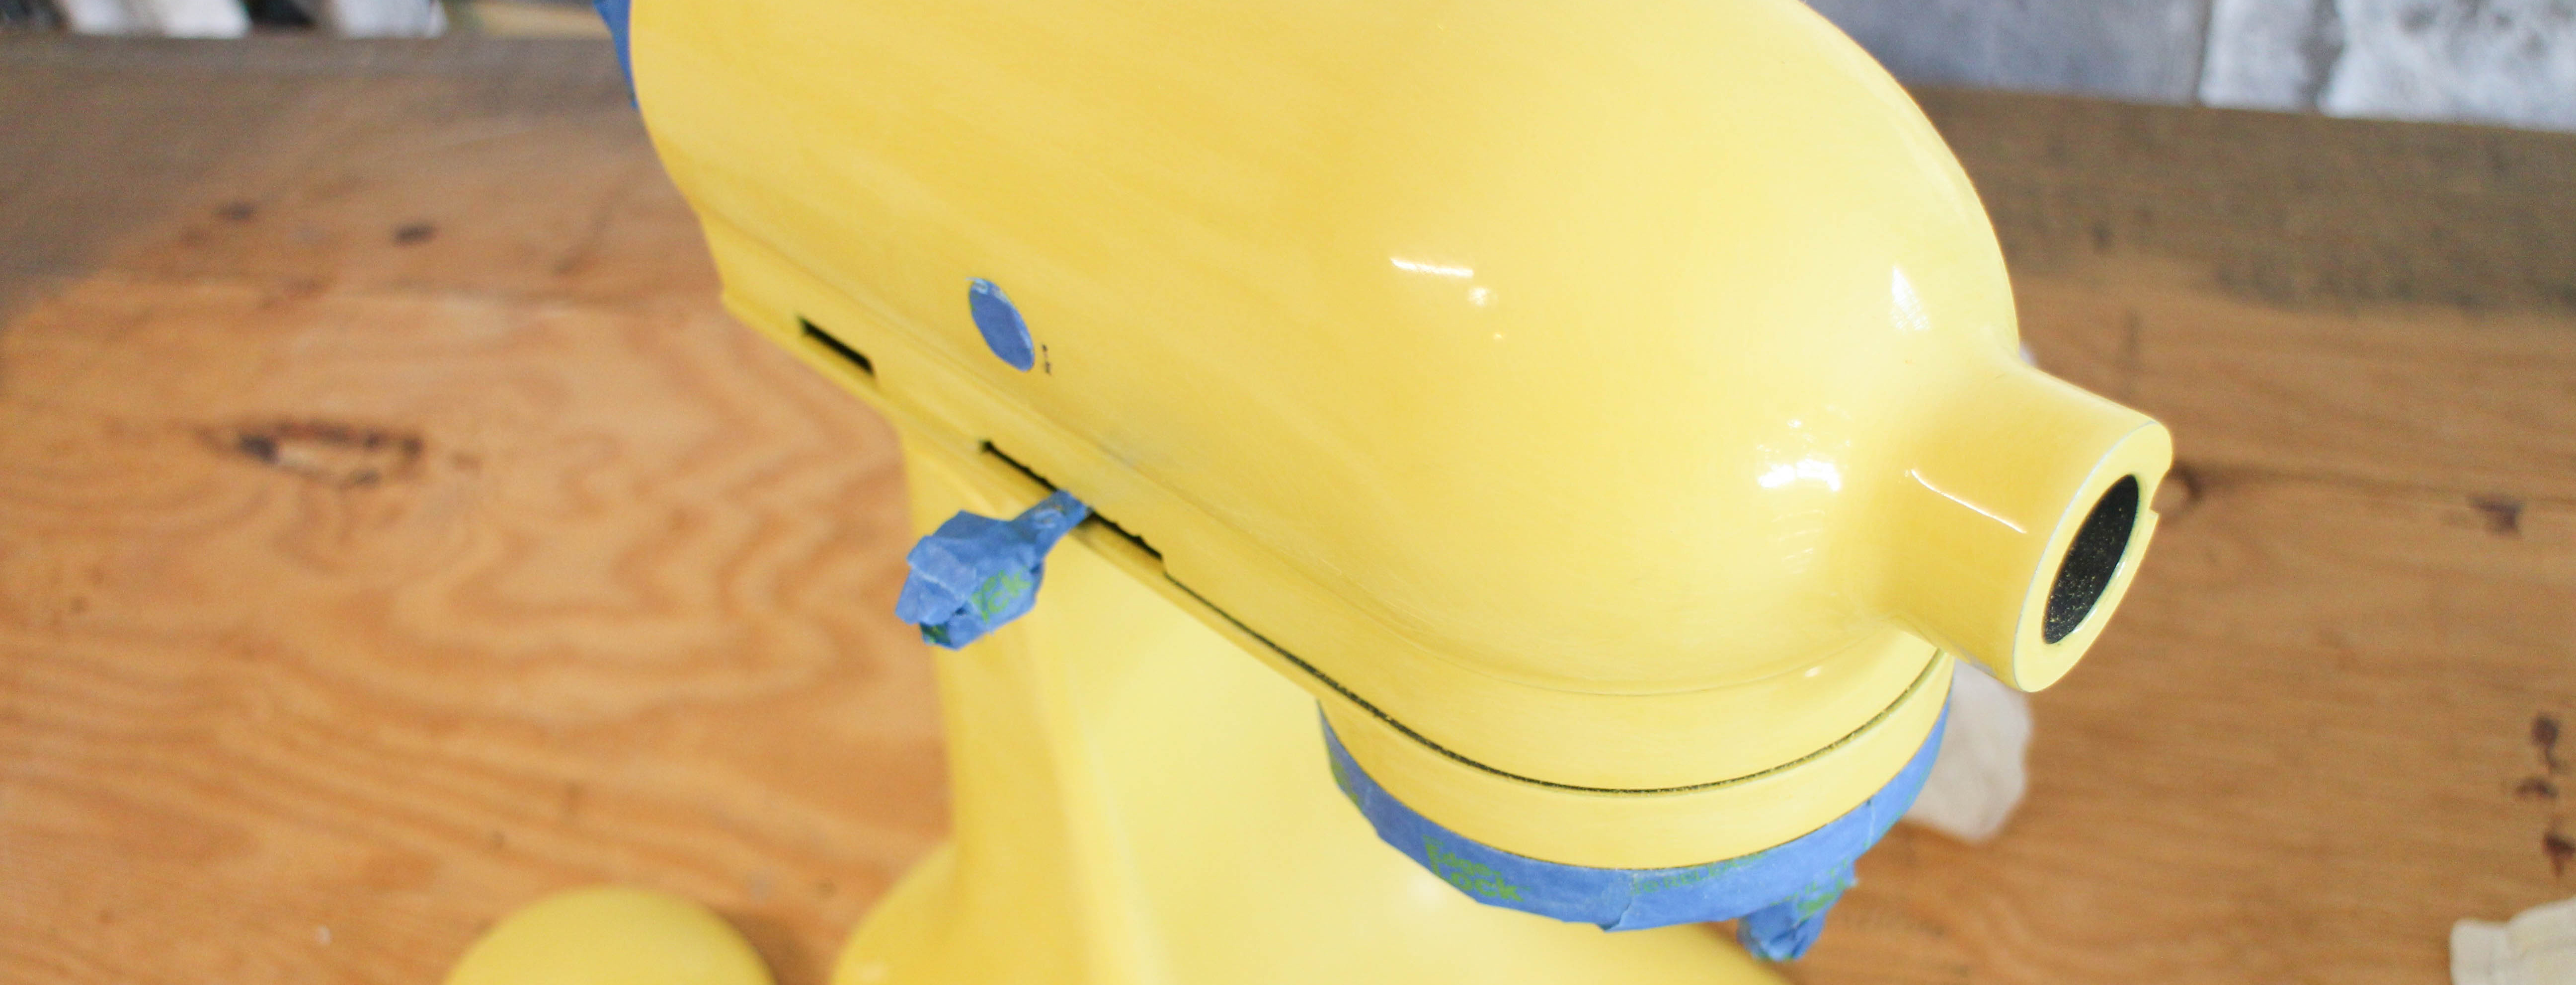
1.) Remove as many removable pieces as possible: the plate that holds the bowl, the “KitchenAid” band around the top, the back plate, the front “KitchenAid” button and screw. These are all very technical terms.
2.) Using frog tape, wrap up all of the parts that need to not be painted: the wiring in the back, the screws, the levers, the label on the back. I chose the wrap the cord in a plastic bag.

3.) Using 120 grit sandpaper, sand down the glossy finish of the mixer. Beware, this is the point of no return. After you mar the face of the mixer, there is no undo button. Make sure you wipe down the whole mixer well after sanding to get rid of the dust and paint particles.

4.) Spray painting time! I chose Rust-Oleum Satin Nickel. For the doubters from my DIY Marble Cheeseboard, here is a picture of me actually doing it! For context, I got comments from friends that the hands in the pictures were not mine. I guess it was more of a DIO (Do It Ourselves).

5.) Repeat 5 times at 1 hour intervals. You can still see the yellow shining through in the above picture. You’ll need to repeat several times before it starts to look good.

6.) Let dry for about 48 hours to be safe. I also had to touch up a few spots that I missed by spraying some paint straight into a cup and dabbing on with a brush. But if you are better than I am at spray painting, you can skip straight to the drying. Yes, you can see a few yellow spots here or there, but I think it looks a million times better! I love it!!

Has anyone else tried to makeover their KitchenAid mixer? How did it go?