
We love to scroll through people’s blog posts, make snap one minute judgements about them, and then decide whether or not we want to like or pin them. What we don’t realize is how much time and effort might have gone into that blog post. For example, I did this just the other day when I saw a DIY Cheeseboard post on Coco + Kelley. I decided that was going to be my first DIY project. Even when gathering the materials that cost a grand total of $25 I made jokes about quitting my day job and becoming a cheeseboard artisan. Let’s just say it is a good idea that I did not do that.
$25 dollars of material
+ 8 man hours (due to my incompetence not because it should take this long)
= a product worth probably less than $10 (again due to my incompetence)
Having said that, I LOVE my cheeseboard. Mostly for the memories, the laughs, and the incredible amount of fun I had on my first real DIY project. You can find the original Coco + Kelley post here. And below you will find my personal interpretation of that post.
Materials:
-Marble tile (I actually used a piece of super white granite that I got for free from a fabricator). Mine were approximately 10 inches long, 3/4″ thick, with varied widths.
-wood slats. I used crotch walnut which I am told is the part of the stump where the branches split which is what causes all the pretty patterns and variation. Mine was $6/lb from a local wood shop.
-sander with 240 and 320 grit sandpaper. Could be more coarse depending on how un-level your slats are.
-gorilla glue
-wood glue
-clamp to hold the pieces together

Lay out the pieces in the order and with the sides that you want facing up.

Sand down until smooth, starting with the coarsest grit if the slats are slightly uneven and then finishing with the finest to really smooth out the wood.

For wood-to-wood pieces, use the wood glue, for the wood-to-marble pieces, use gorilla glue and DO NOT spread with your finger like in the picture above. You can do this with the wood glue, but try not to get the gorilla glue on your skin at all. Also, the well weathered hands in this photo are my dad’s and not mine. Needed a tad bit of help for my first project.

Clamp together and let dry for a few hours. I let mine dry overnight. Afterwards, sand again to make sure everything is absolutely smooth.
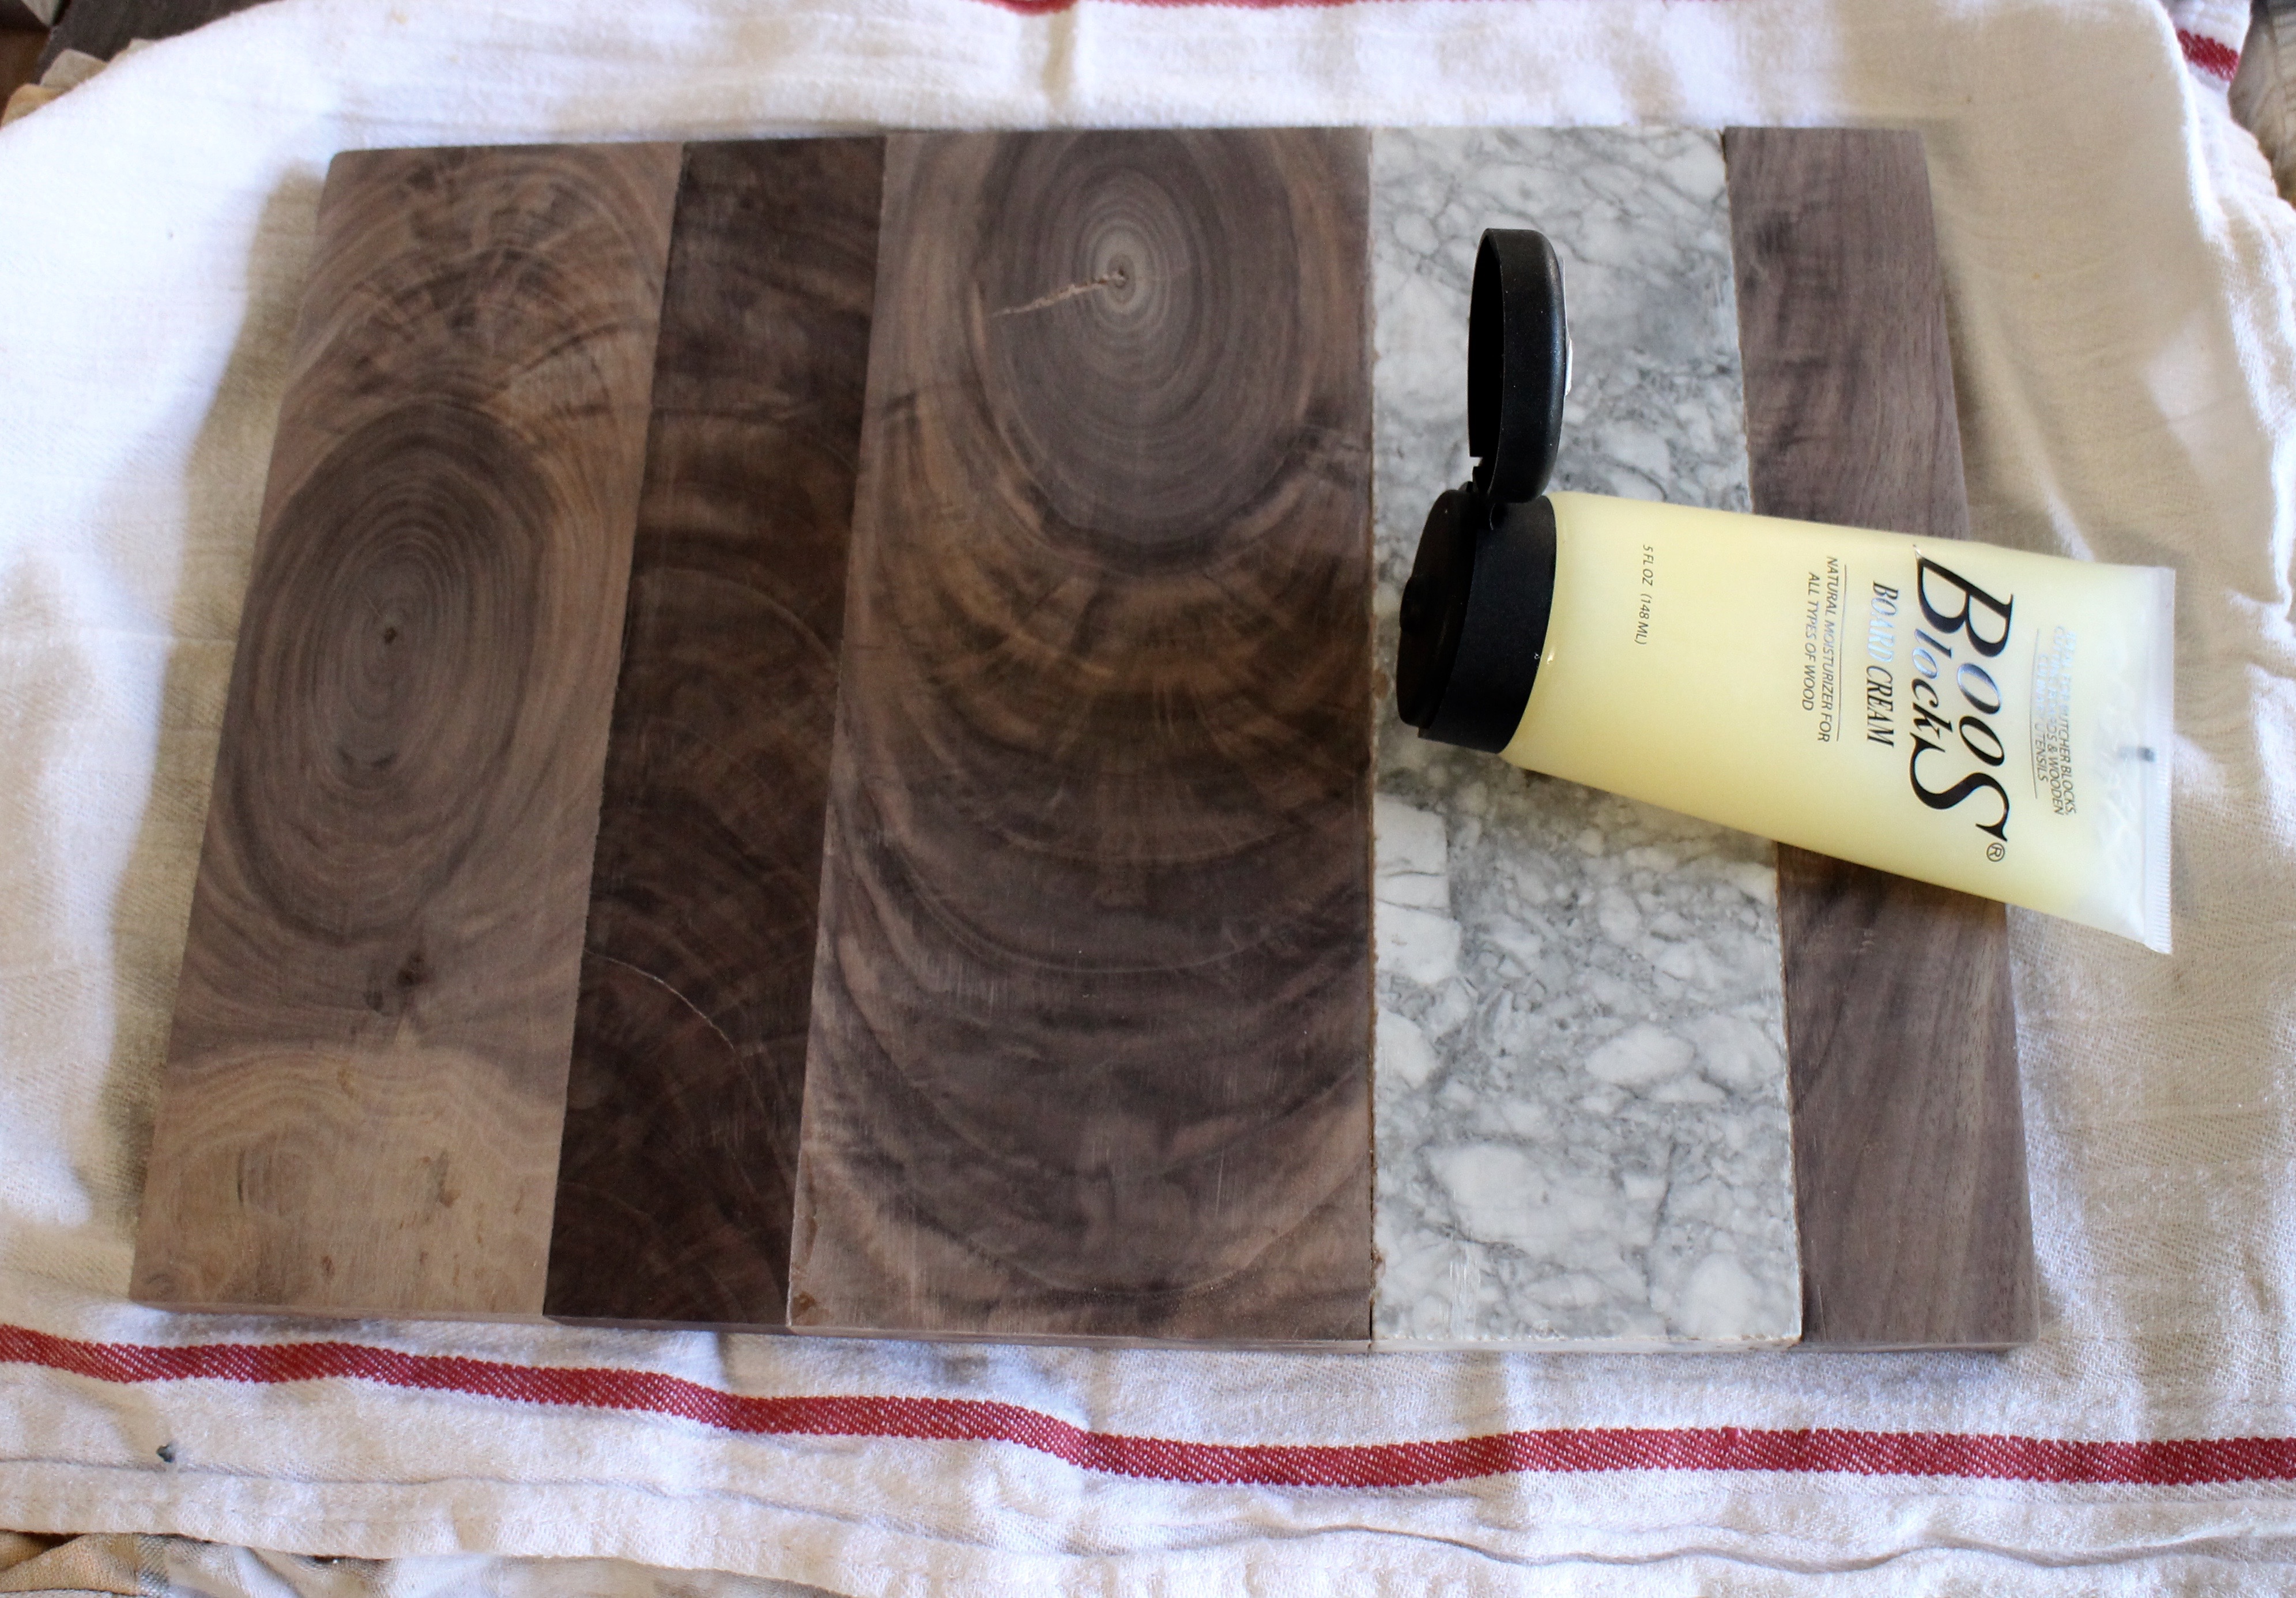
I bought this treatment from Sur La Table for $10. This can be used on all of your wood cheeseboards or butcher blocks to keep them nice and pretty and keep them from drying out.

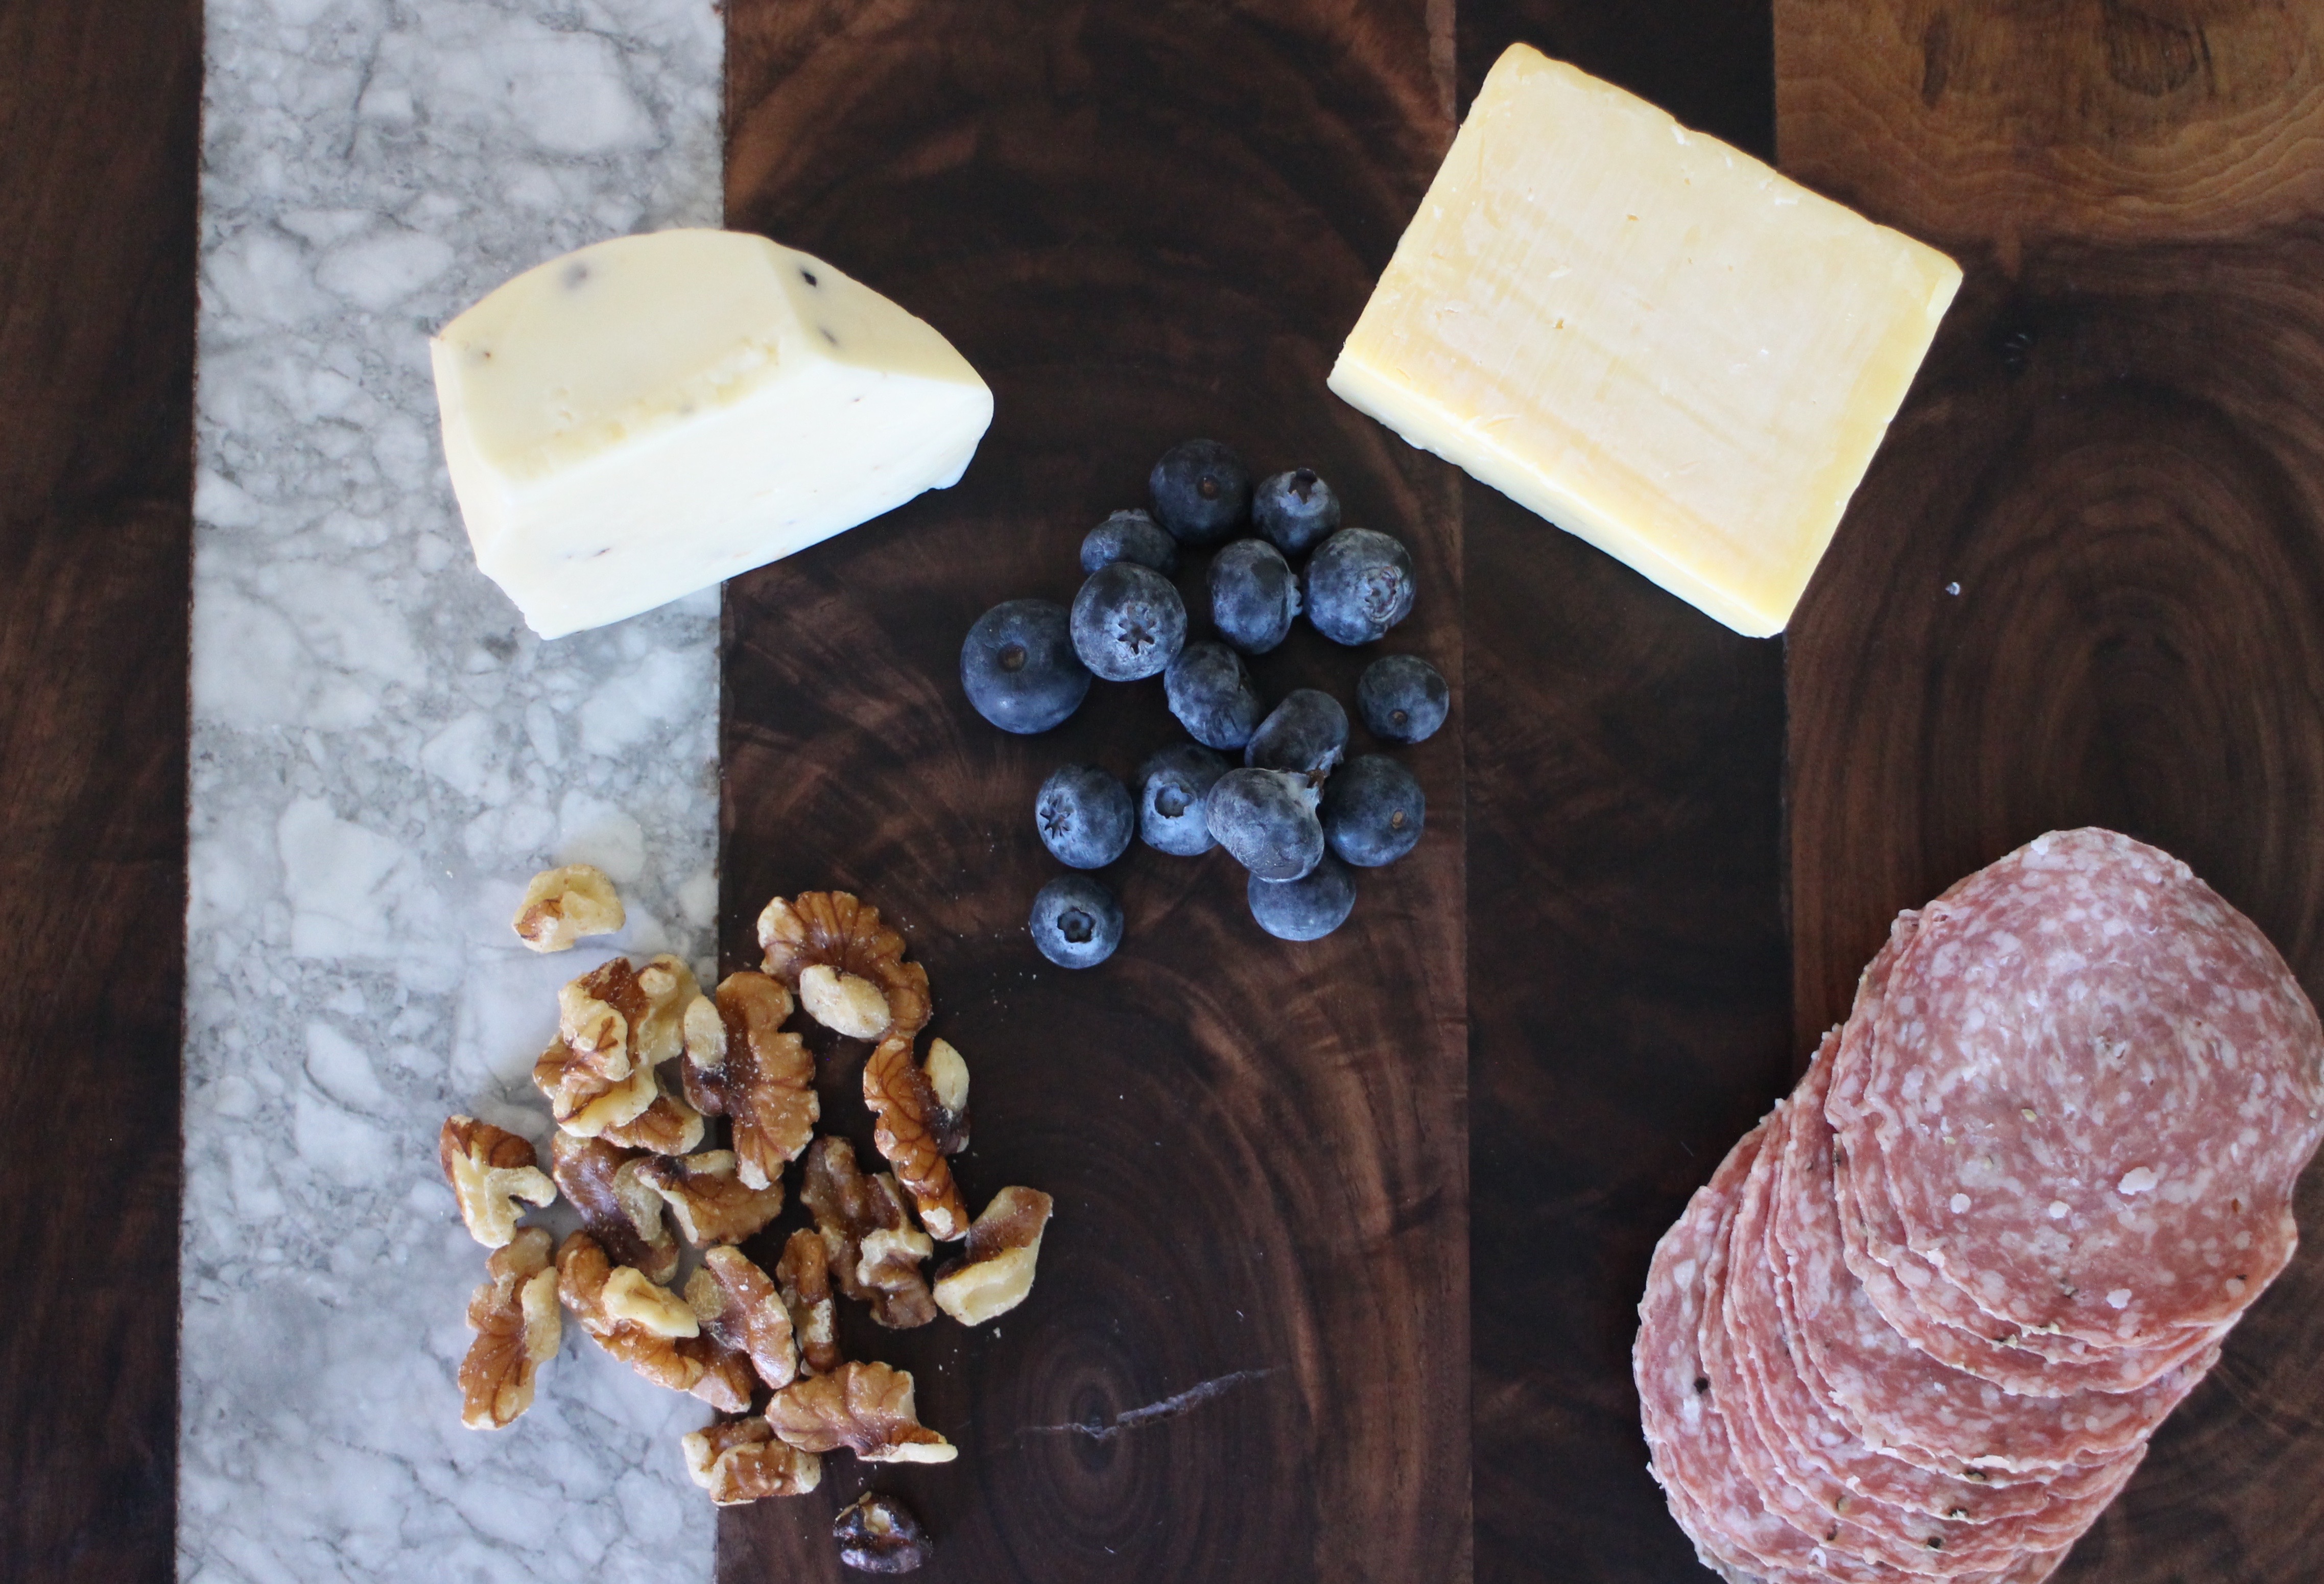
The beautiful movement of the wood should really be accentuated by the treatment. And here’s the finished product! I plan to really go for the farmhouse look in the new house so this rustic imperfection is fine with me!
I guess my next adventure will be how to assemble pretty cheeseboard platters….